Lightning Quick-Start Guide
Welcome to the Zetaris Lightning Quick-Start Guide! The traditional approaches to data integration where the use of ETL ( Extract-Translate-Load) or ELT ( Extract-Load-Translate) are the principal data movement methods is no longer a sustainable approach. Data comes in all shapes, all velocities and different levels of structure and the platform used to manage this level of activity needs to be able to cope with modern business demands placed on it. Traditional methods are simply not fast enough to keep pace with the business and the market that drives business. This document will provide you a fundamental functional understanding of the Zetaris Lightning so you can explore the capabilities of the platform and begin to understand the potential business benefits that can be quickly implemented, tested and productionised.
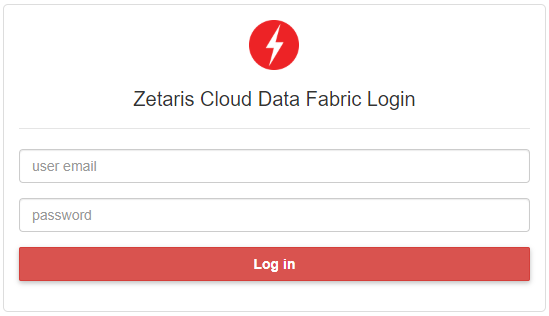
Accessing the Lightning User Interface All users access their own Lightning through http://<host name>:9001/lightning-gui/login where you can input your specific username and password
Lightning User Interface Tabs Once successfully logged into the user interface, you will see your options at the top of the page. Here is a break down of the functions stored in the top Menu.

Listed from left to right they are:
- Data Fabric Builder
- Schema Store View
- Data Catalog
- Query Builder
- Virtual Data Mart
- Topological View
- Data Quality Management
- Advanced Analytics
- Access Control
- User Management
Data Fabric Builder
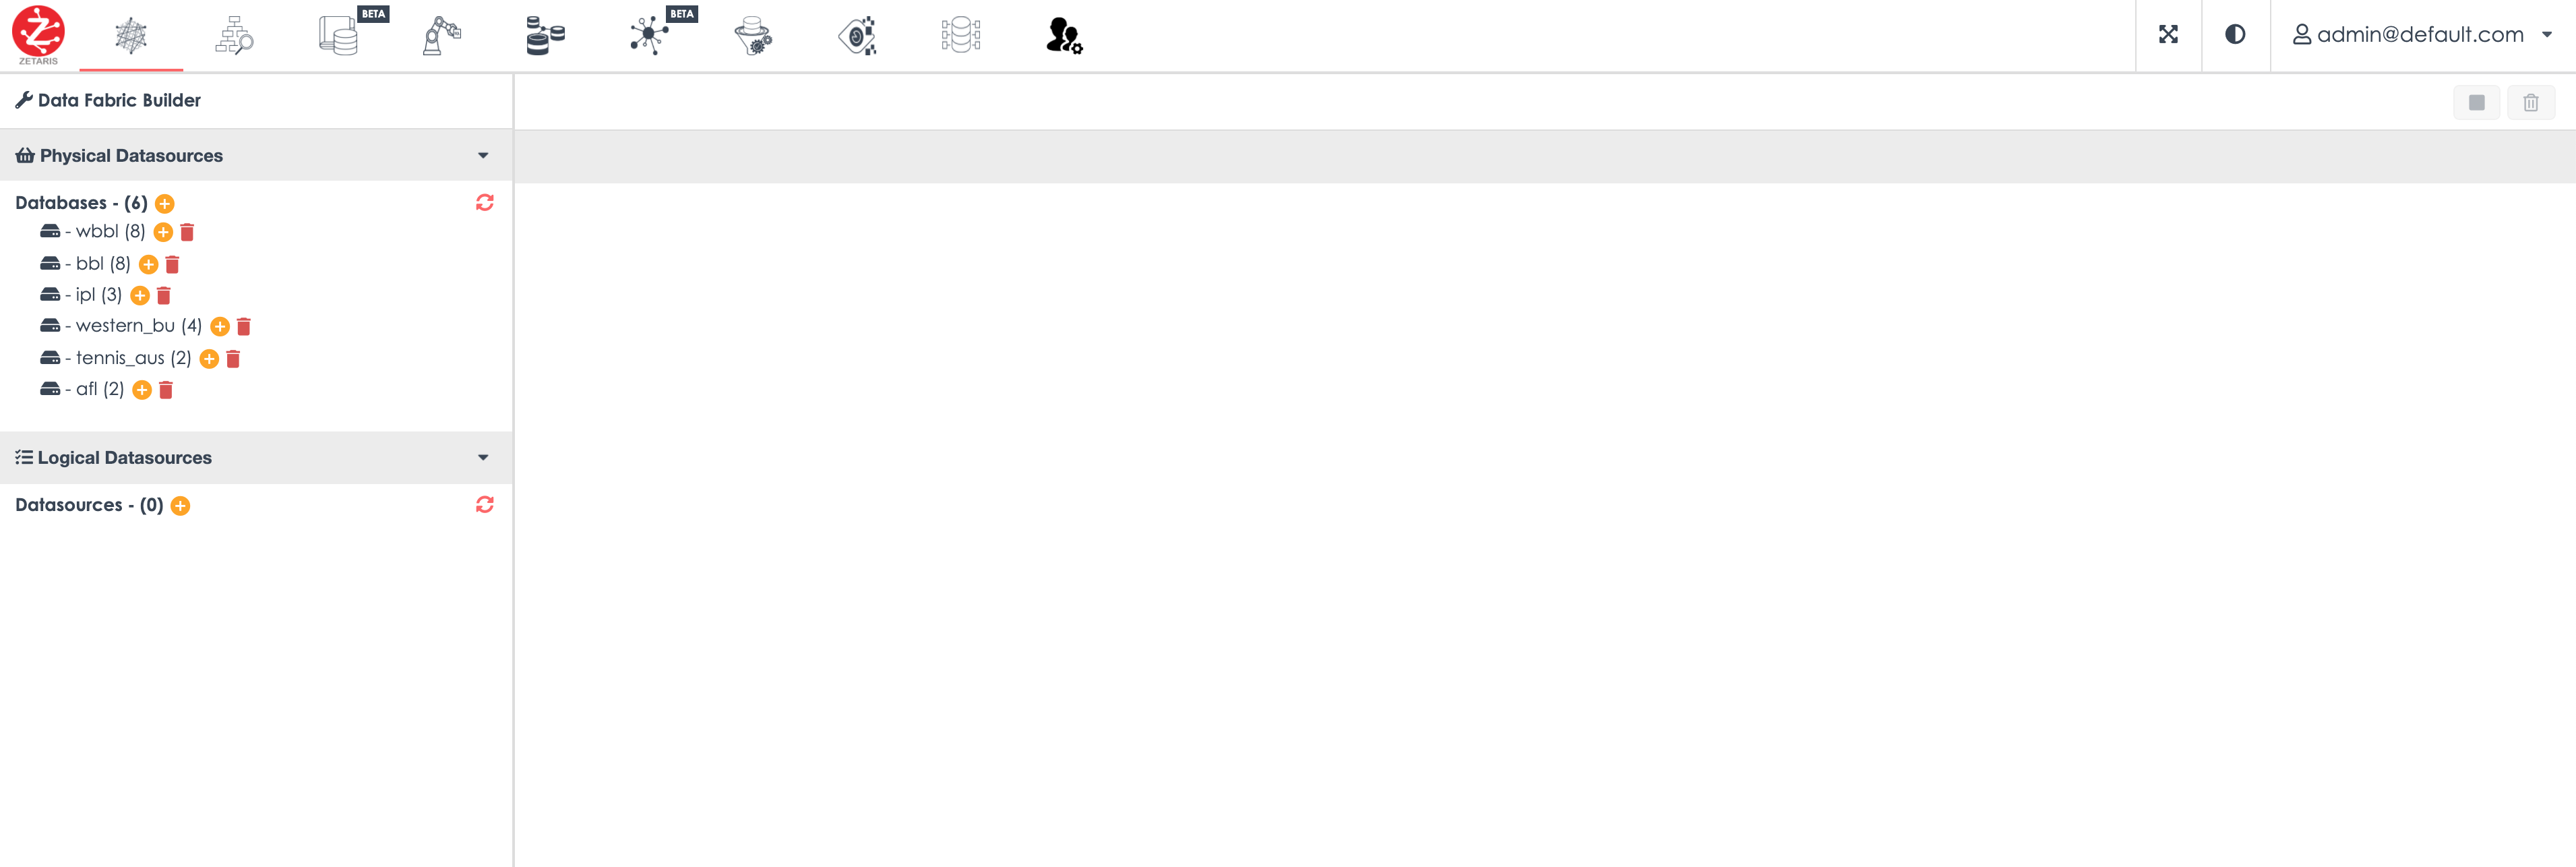
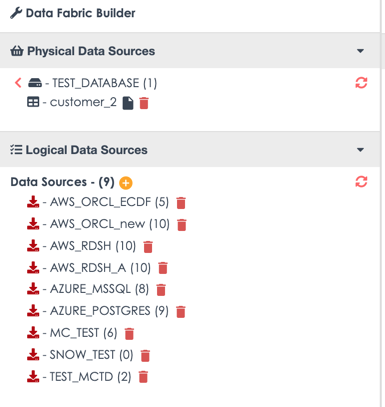
Data fabric builder lets you create data fabrics which are a combination of data sources consisting of different database or files. In the below example:
- The left panel displays all the available databases and data sources that have been defined.
- Database can be added by simply clicking on small green button as shown in image
Schema Store View
Schema Store is where query can be constructed and run using different virtual data source tables to compose unique databases, data marts and views which are defined within the cloud data fabric.
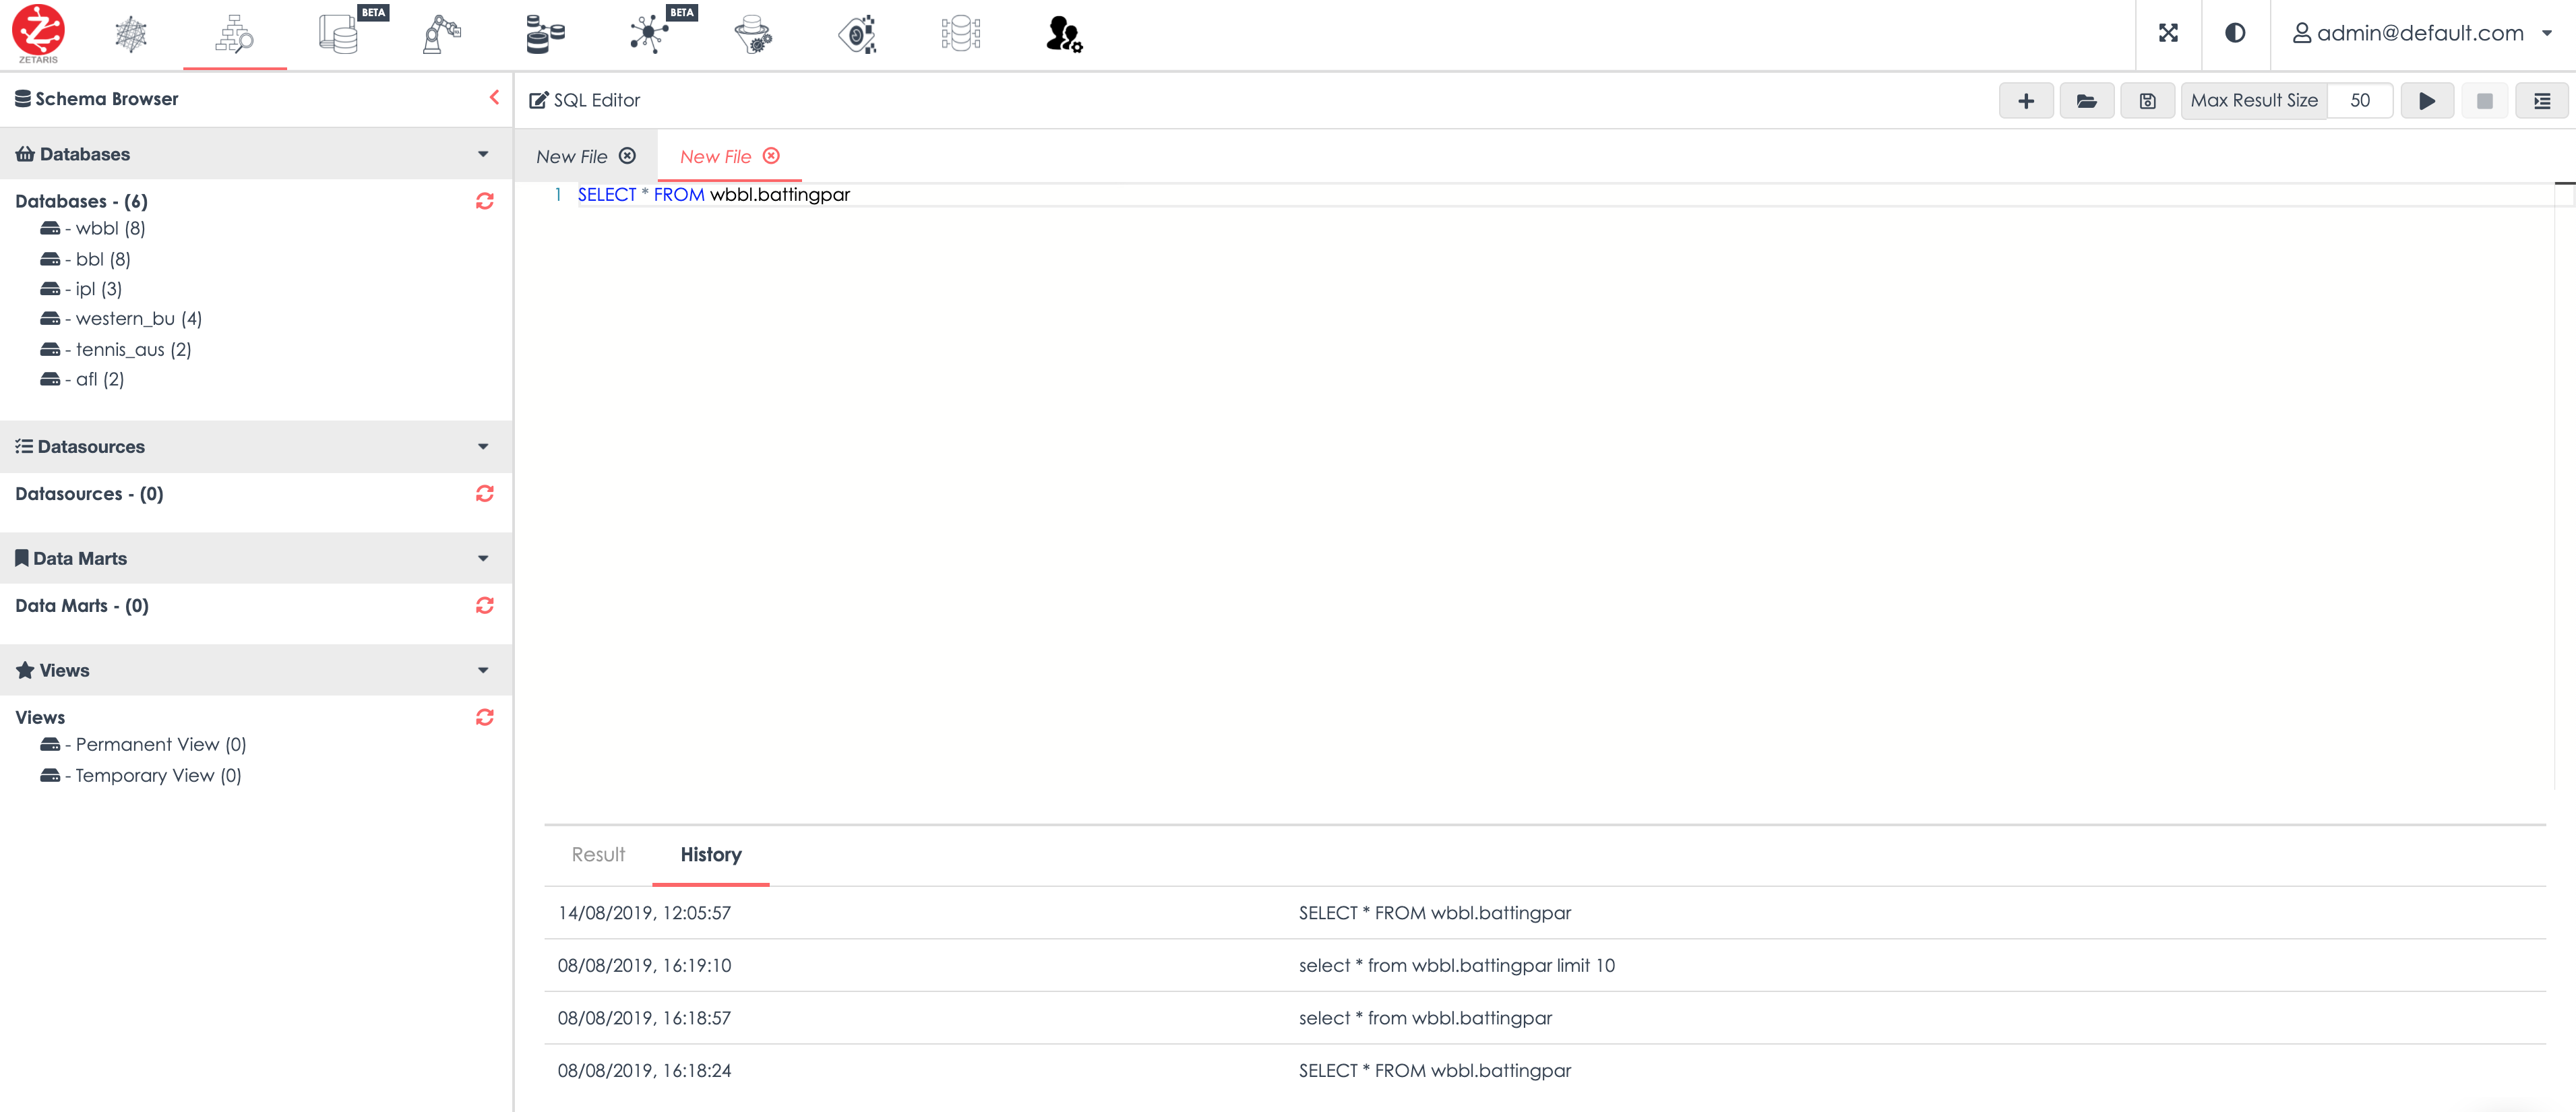
- The left panel of the User interface is known as the Schema Browser and displays all the databases, data sources, data marts and views that are available for use in any query. Any new databases or data marts created will be added to these panels.
- The main panel to the right, the SQL Editor is where all SQL queries are written with the results displayed immediately below in the Results panel.
- The Result panel has two tabs. Result, where output of a query will be shown and History, where the query history run on a particular query sheet will be shown
- The top right corner of the interface has the the following buttons, from left to right

- Plus Button - adds an additional User Interface tab
- File open button - opens any previously saves SQL queries
- Save Button - allows Save or Save-As of any new or edited SQL queries
- Max Result - sets the maximum number of results to be returned by a query
- Play Button - executes any SQL code that has been highlighted in the SQL Editor
- Stop Button - stops SQL query execution
- Format Button - arranges SQL Code in the Editor window into a human-readable format
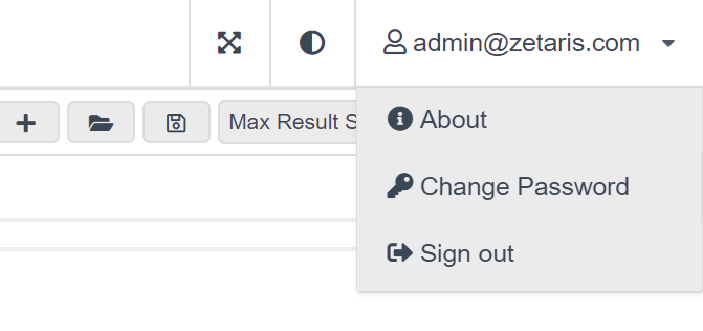
The user panel, also located in the top right corner of the user interface allows you to change your password as well as logout
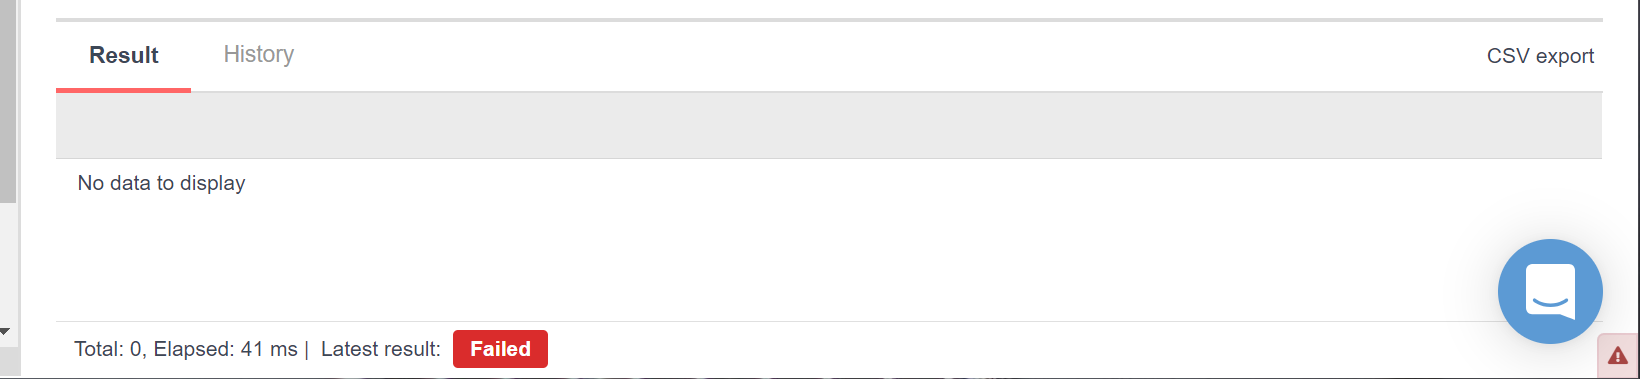
- The bottom of the results window will show a fail result message when a query has been unsuccessful.
Clicking the Red triangle in the bottom right corner the Result panel will display any errors relevant to the current failure result.
Data Catalog
Data catalog tab allows you to browse the existing defined data sources and look at the tables associated with these.
Adding a Physical Data Source Database tables can be created from Azure BLOB storage, Amazon s3 Buckets or an API end point There are 2 mechanisms available:
- Data Fabric Builder, or
- SQL Editor on the Schema Store View tab
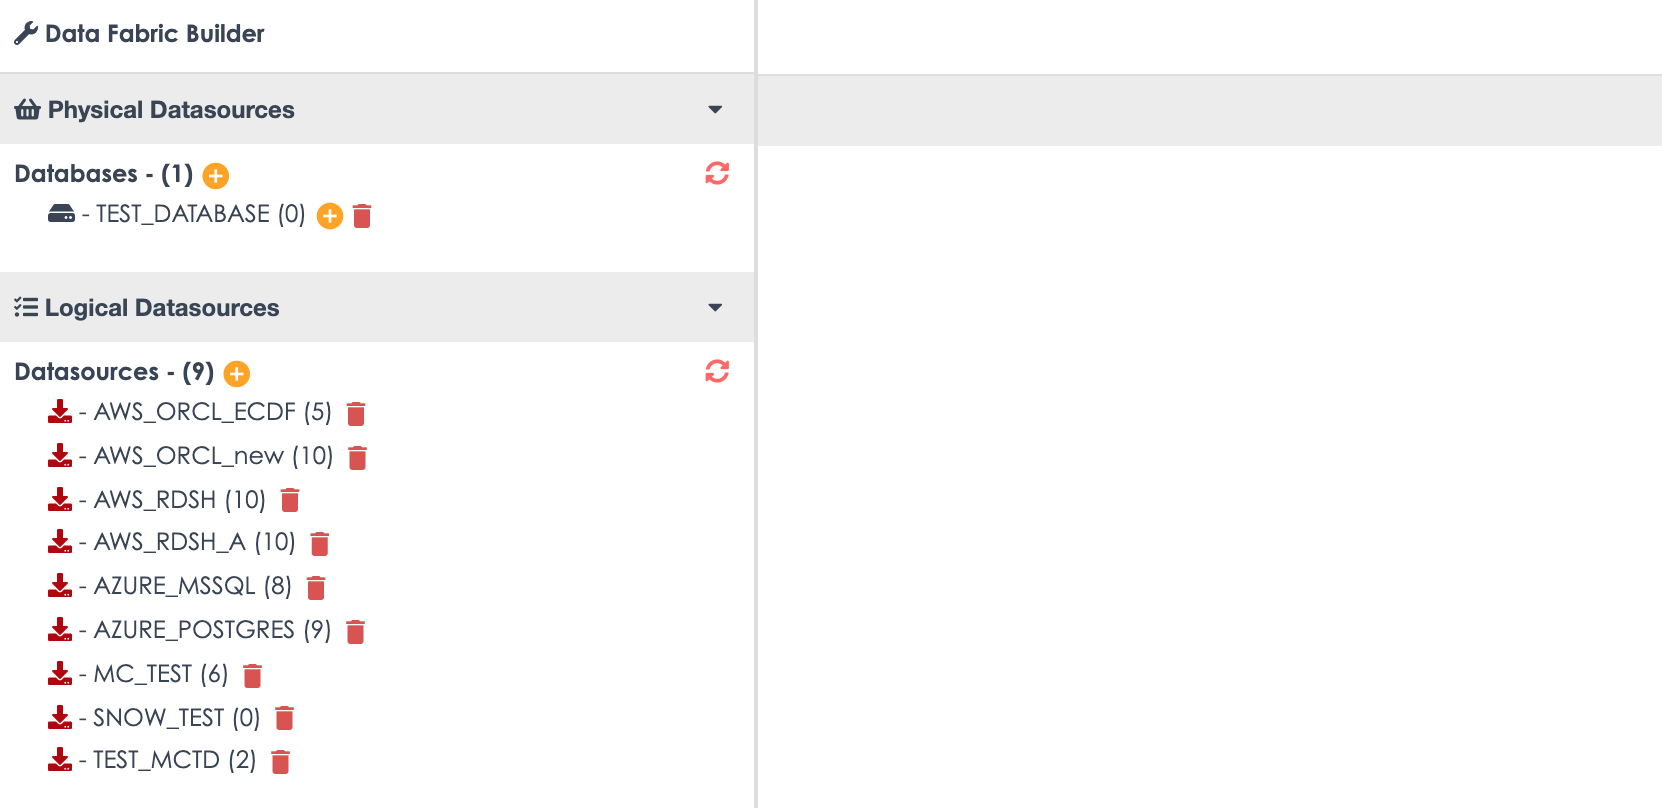
Data Fabric Builder
Database Creation
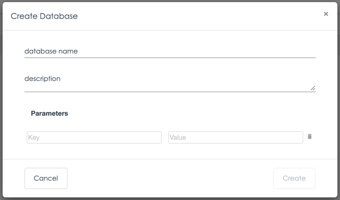
A database needs to be created before any tables can be assigned to that database. A name and description are required along with any additional parameters.
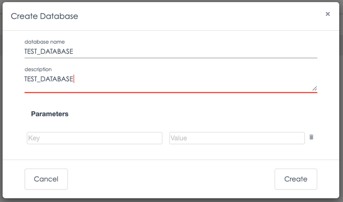
The created database appears under the Physical Data Sources and Data Bases section:
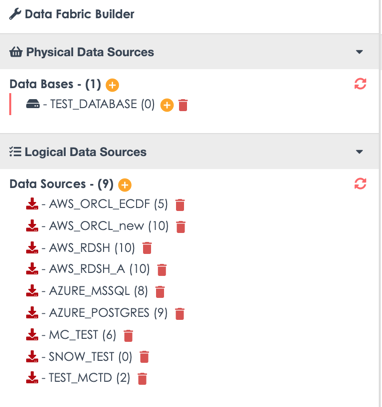
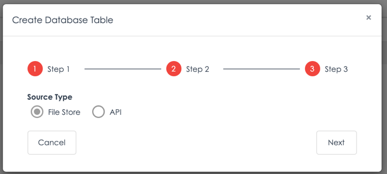
Table Creation
Once the database to which the tables are to be assigned has been created, the “+” addition sign can be pressed to create the table. The table can either be a File Store table (Azure BLOB or AWS s3 bucket) or an API end point File Store
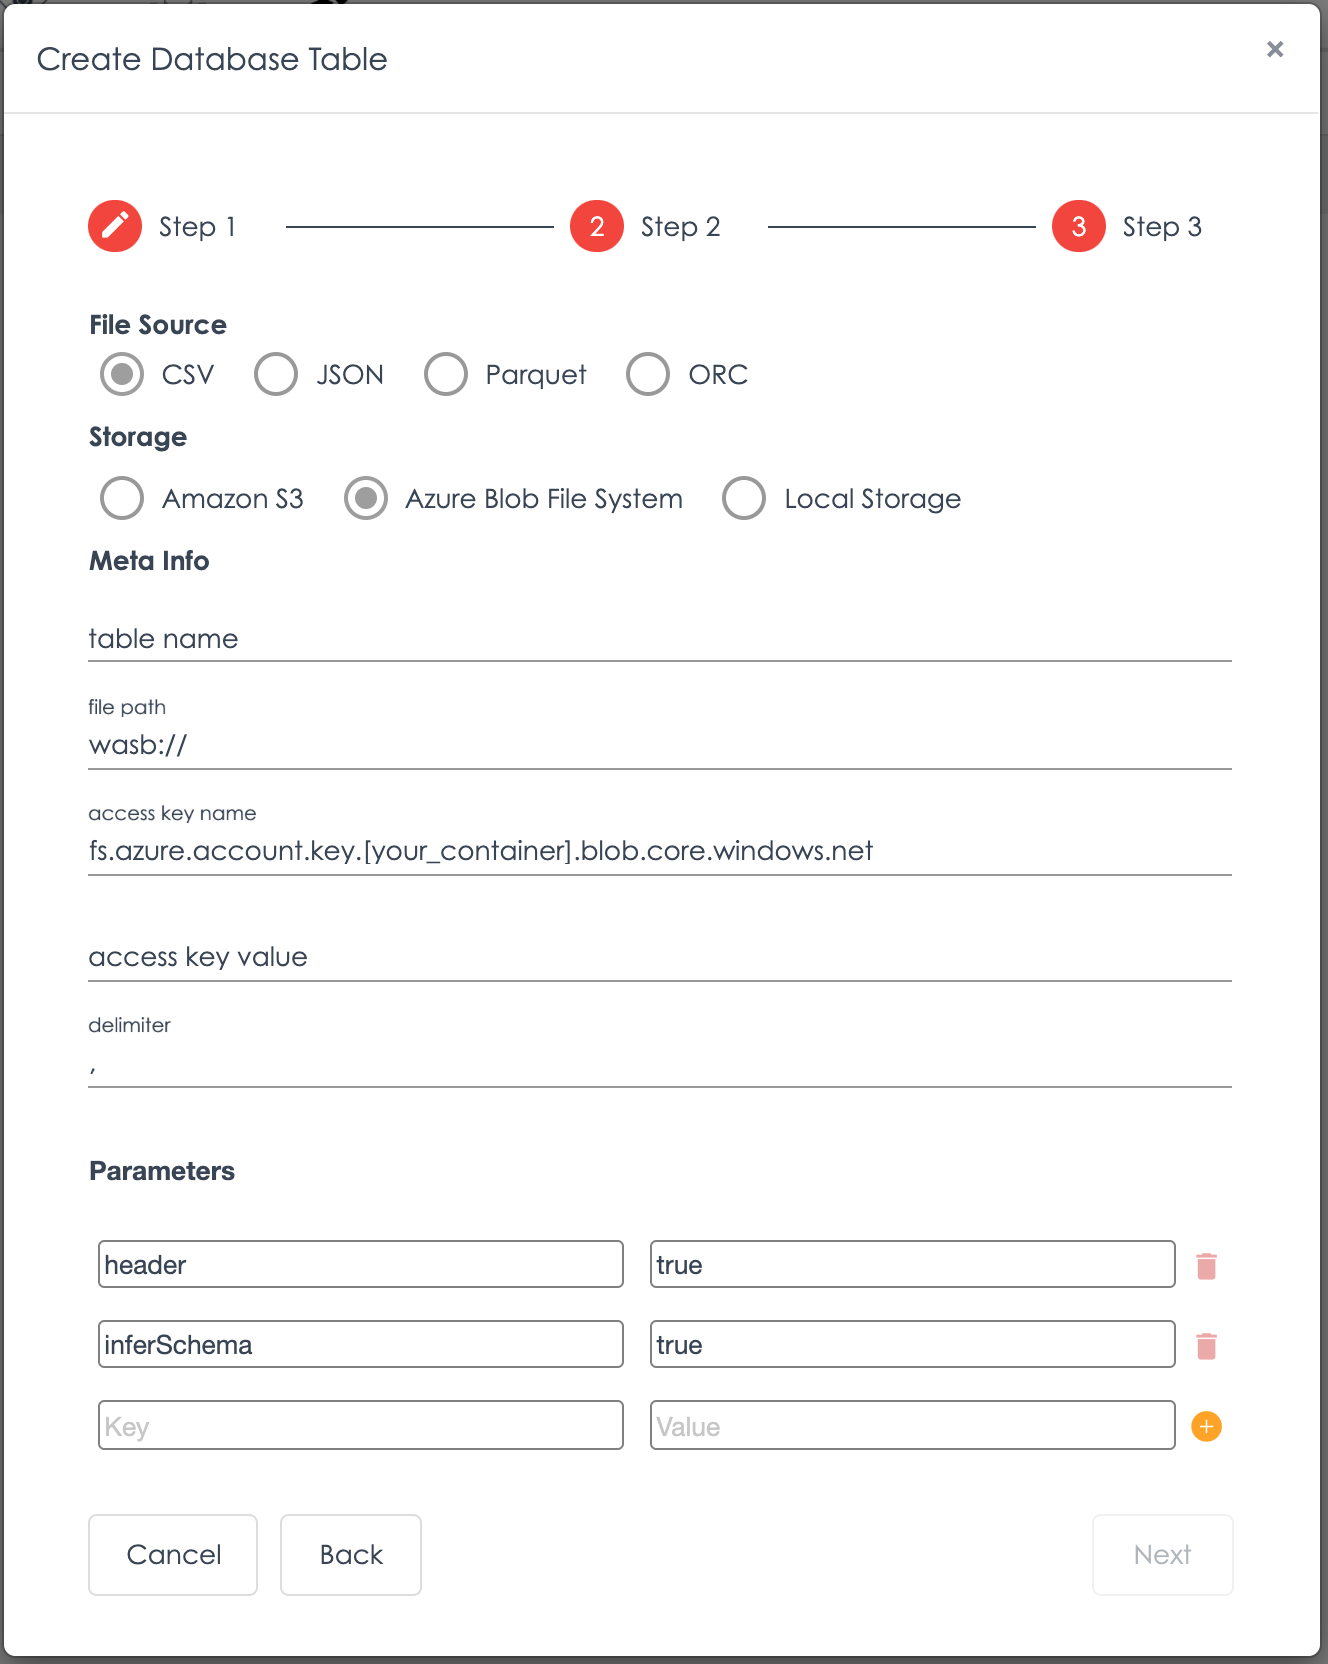
The necessary credentials need to be supplied including:
- Name which the table will be called, which does not need to be the same to that of the file within Azure or AWS
- Path of the file
- Access Key Name
- Access Key Value
The default parameters can be altered if a header is not available
Before the table is created a preview of the records is provided.
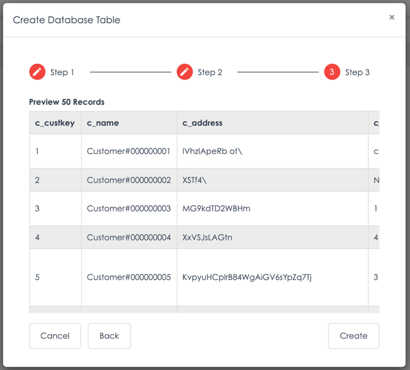
The tables are available as soon as they are created.
SQL Editor on the Schema Store View tab
The same process is required when creating the tables and database using the command line interface.
Database Creation
CREATE LIGHTNING DATABASE TEST_DATABASE DESCRIBE BY " TEST_DATABASE";
Table Creation
CREATE LIGHTNING FILESTORE TABLE customer FROM TEST_DATABASE  FORMAT CSV OPTIONS (
          PATH "wasb://zettest-storage-container@zettesstorage.blob.core.windows.net/customer.csv",
          inferSchema "true",
          fs.azure.account.key.zettesstorage.blob.core.windows.net "XXXXXXXXXXXXXXXXXXXXXXCVCHJHVJLBJCGJHCVJLKNKJVKJHBLKMLKBHBNKLJMKL");
Adding a Data Source
- Data sources can be added by clicking on the small green button next to data source as shown in image below
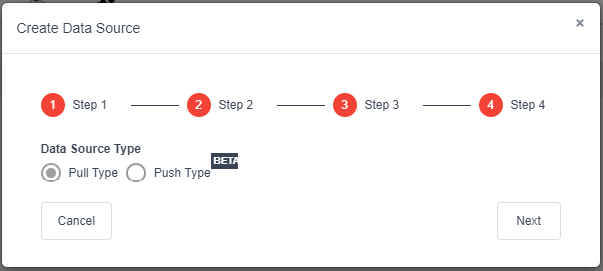
- A pop-up will appear to guide you through the data source setup process
- In step 1, Pull type is the default data source type, click next
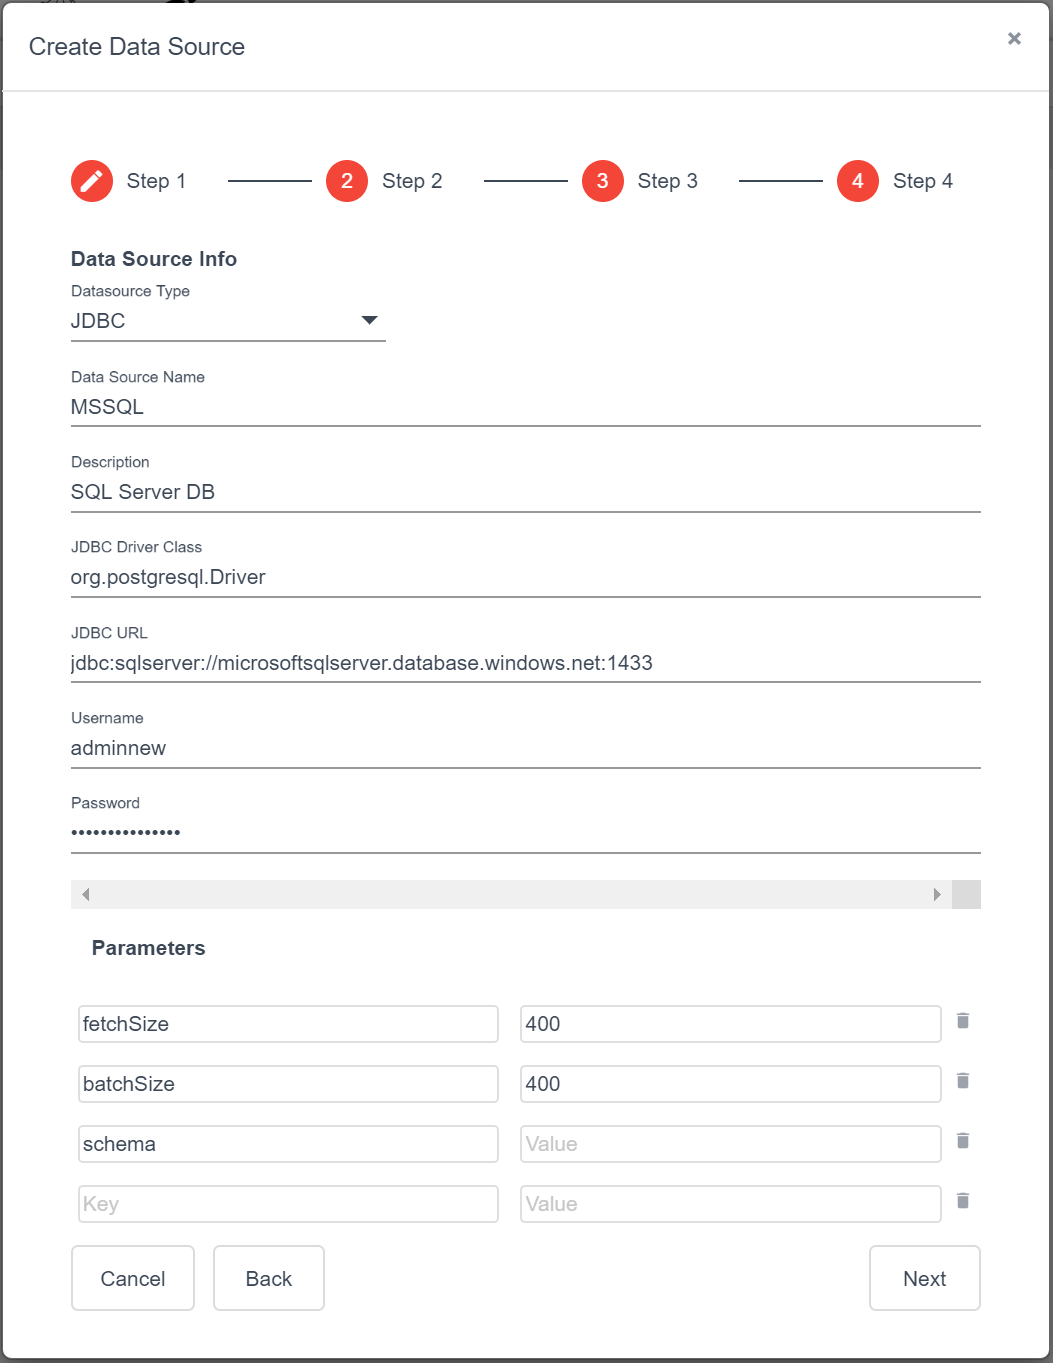
- Complete the Data Source Information page including Database Type, Data Source Name,
Description (Optional),JDBC Driver Class,JDBC URL, Username/Password and Schema type followed by clicking next
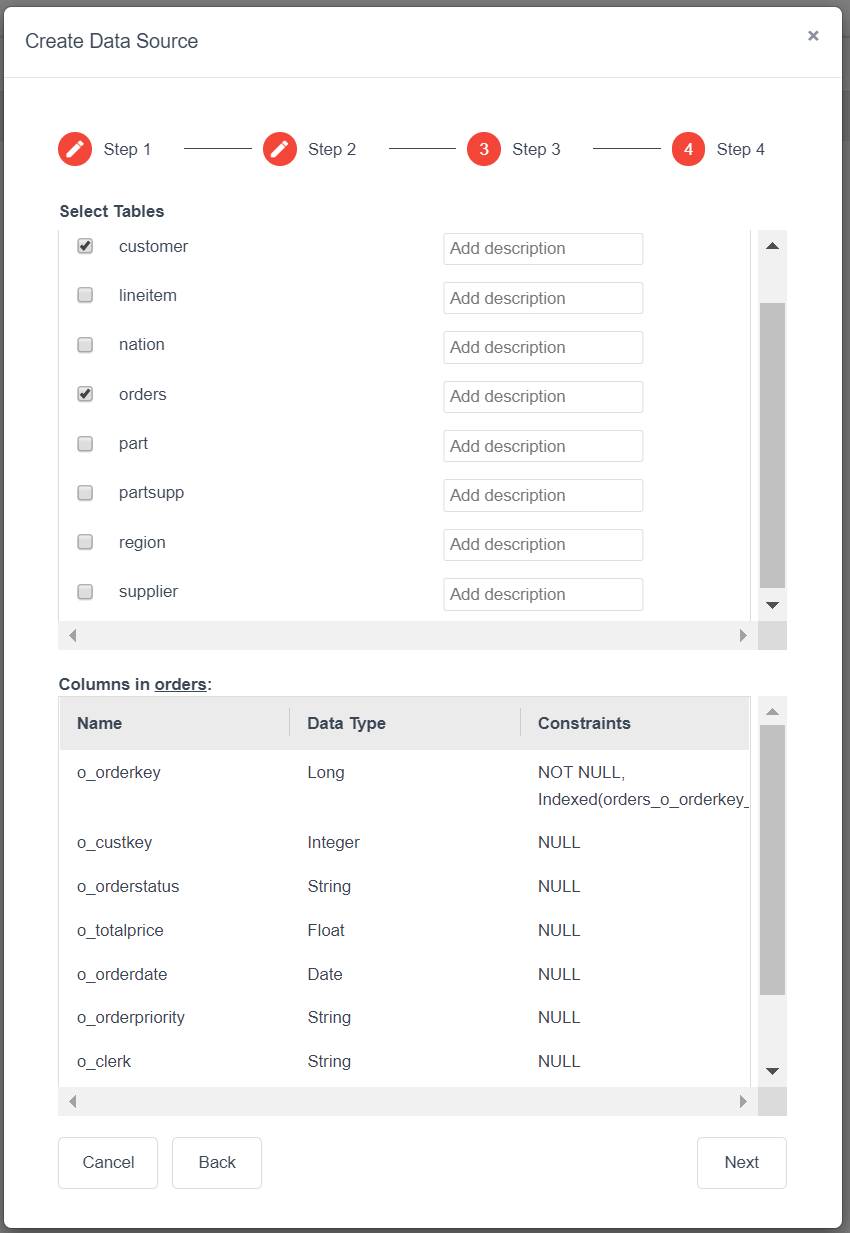
- Now select all the tables in the data source which you would like included as part of the virtual data source and click next
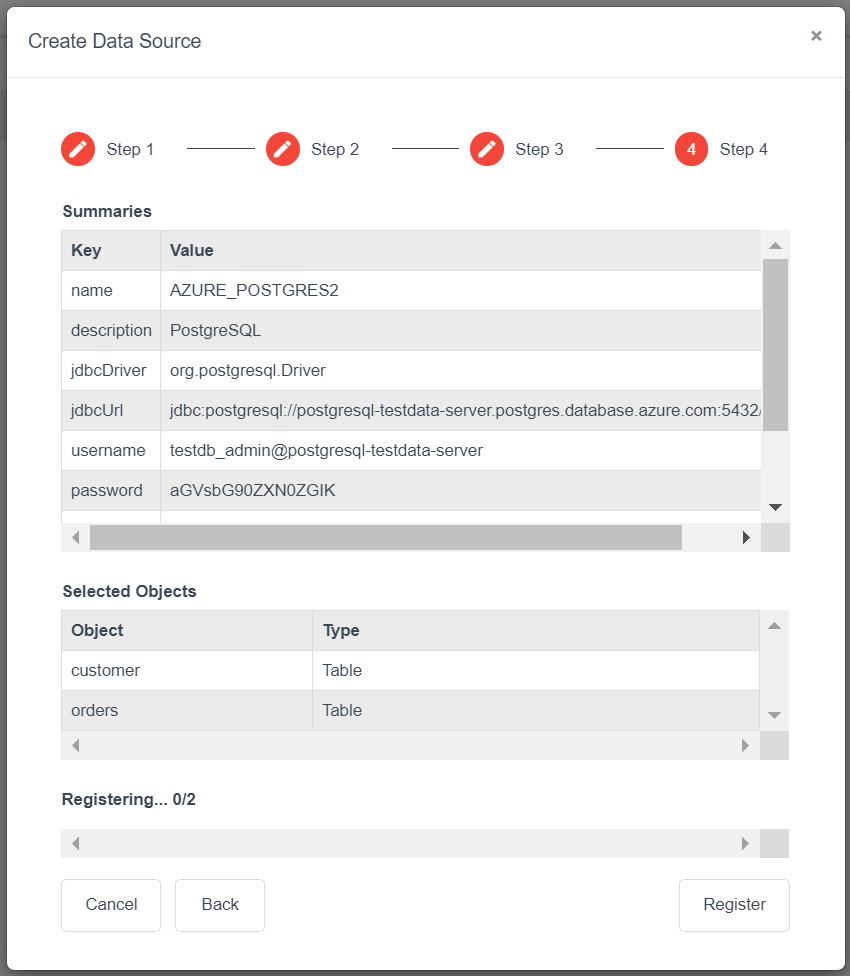
- A summary of all the database and driver parameters along with the selected tables will be shown.
To accept these changes and create the virtual data source, click the register button
Query Builder
This tab is used for inter-active query builds through a drag and drop method, which auto-generates the SQL statements.
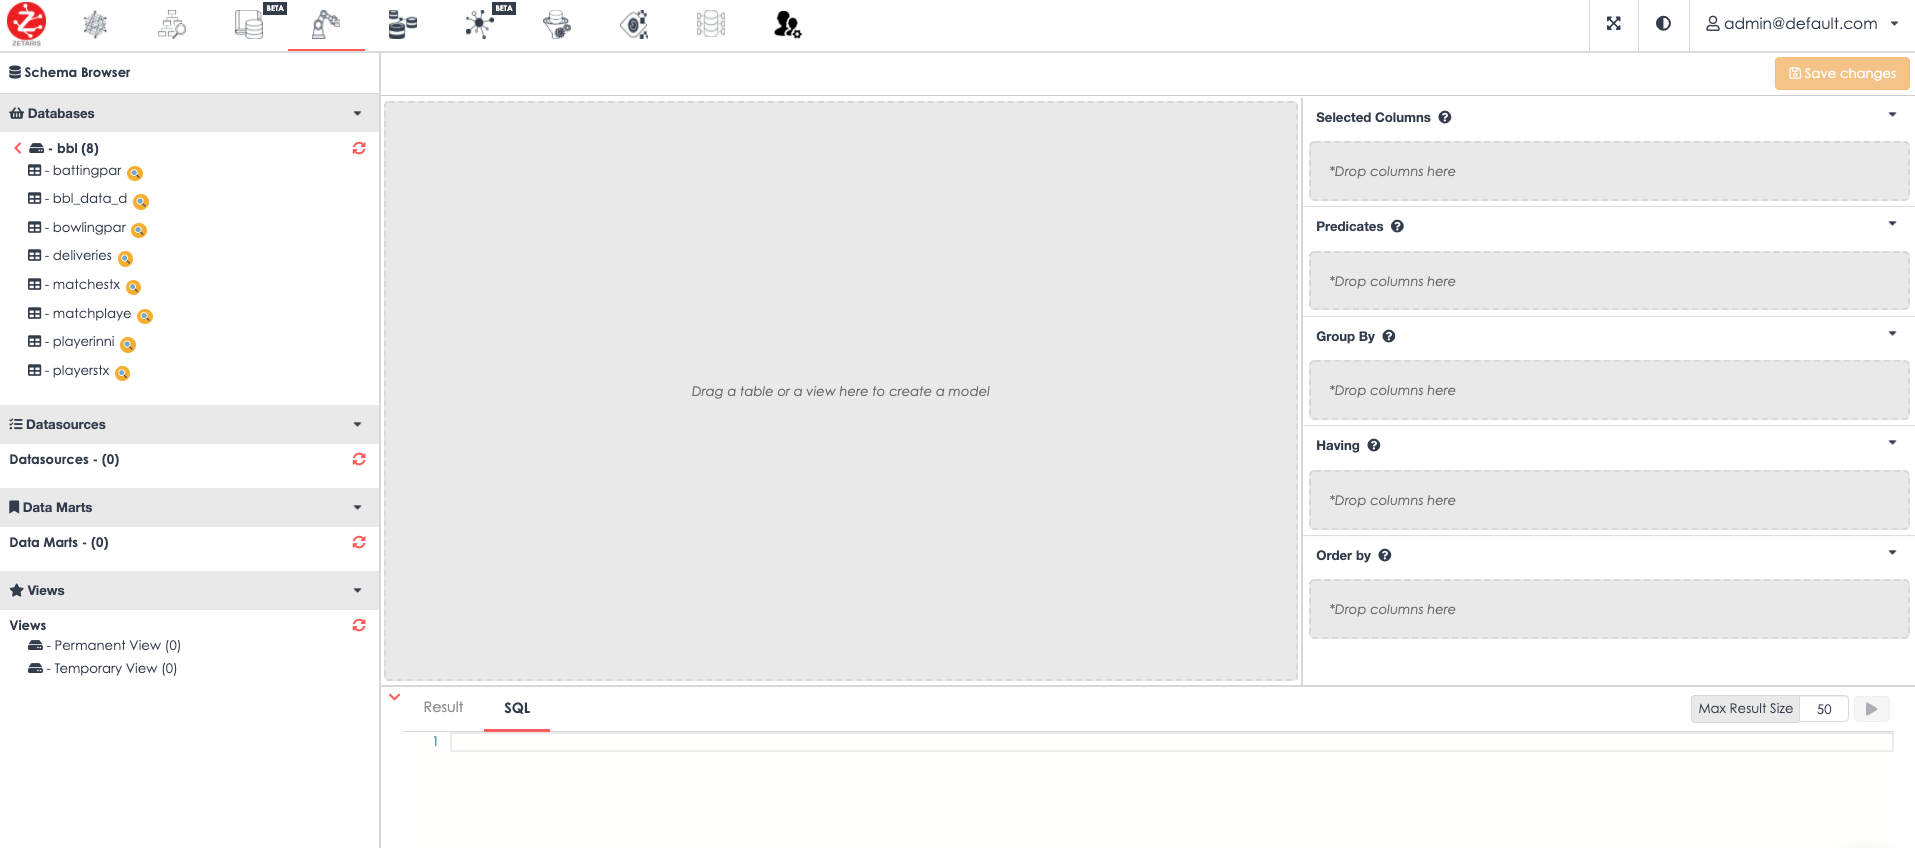
- The left-most panel is the Schema Browser which displays all available databases, data sources, data mart and views which can be used by query builder.
- The main panel is the Query Builder canvas where tables and views can dragged and joined.
- The right-most panel displays the selected columns along with any predicates and group by / order by clauses
- Selected Columns will contain any columns that are dragged from the Schema Browser that you wish to use as part of your query.
- Predicates defines the column on which you want to apply where clauses or filters ie; “where employee_num <1000”
- Group By let you group results on the the basis of particular column allowing you to filter out data. it is very similar to where clause but also allowing aggregation count comparison
- Order By allows you to order your data in descending or ascending order for a particular column you selected.
- The SQL and Result panel below the Schema Browser canvas is where the SQL is shown along with results of your query
- SQL Tab display a dynamic view of the auto-generated SQL built form your selections
- Result Tab displays the query result once the execute button has been clicked
- Queries can be saved at any time by clicking the Save Icon described in section 2
Virtual Datamart
The Data Mart is a subset of the Virtual Data Warehouse and is usually oriented to a specific business line or team. Whereas the data warehouse may contain a wide set of data, the Virtual Data Mart can be quickly created to a single department or user requirement. Virtual data mart lets you create different data mart within a data ware house by combing several tables, views etc.
- on the left hand side panel you can see all the available data bases, data sources and all the data mart already created.
- in the middle is where you can drag different table and view to create a datamart. You will be allowed to drag table and view only after you click “create” button on the right and it will ask you for datamart name and description. To complete, click create button.
Topological View
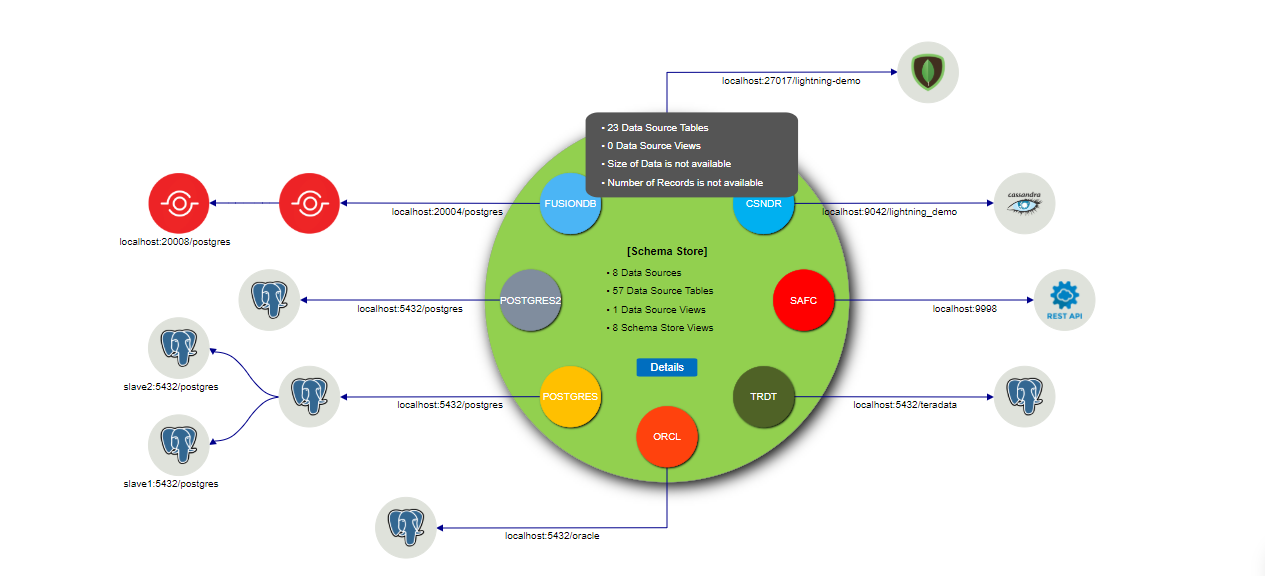
The topological view provides the data that the Cloud Data Fabric has access to. The data can be queried by the customer administrator and allocated to warehouse for end users to query. The below topological view indicates that the Cloud Data Fabric has access to Zetaris Fusiondb, Postgres, oracle, Teradata, SAFC, Cassandra.
Data Quality Management
The Data Quality Management provides the ability automatically execute data quality management and exception management through the implementation of business logic.
Data can be ingested and target business schemas loaded with exceptions flagged. The type of exceptions and the offending records identified.
Two tabs are available:
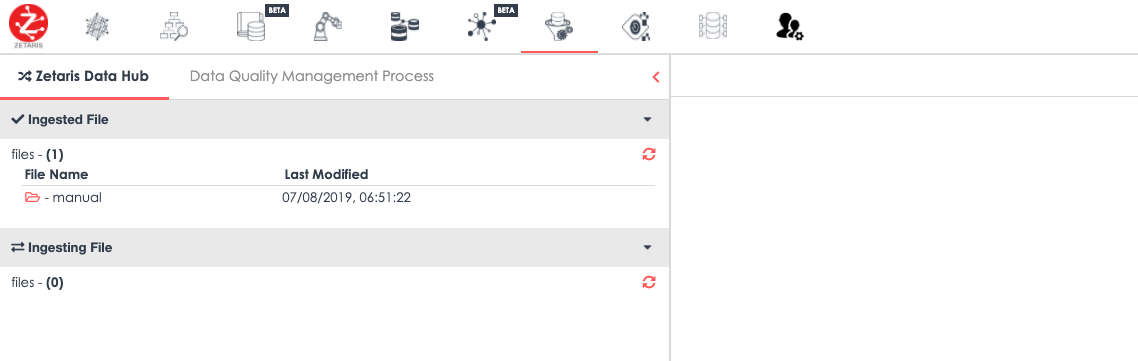
Zetaris Data Hub
Files used to populate the target business schema can be uploaded from this location
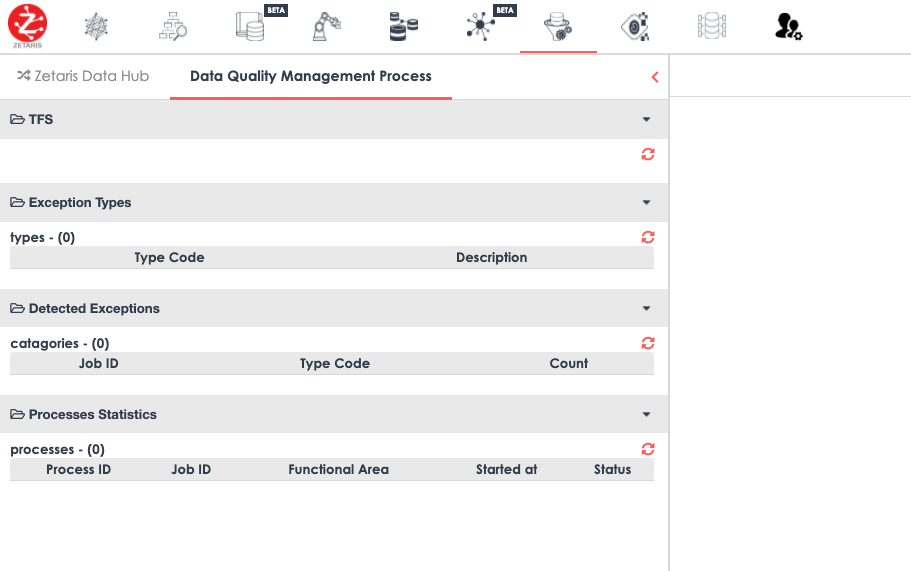
Data Quality Management Process
The business logic defined in a TFS (Technical Functional Specification), the exceptions types defined, exceptions detected and the processes excecuting the TFS can be viewed.
The detected exceptions can be drilled down to the offending source record for the business logic violation.
Advanced Analytics
Advanced Analytics is a feature to be made available shortly.
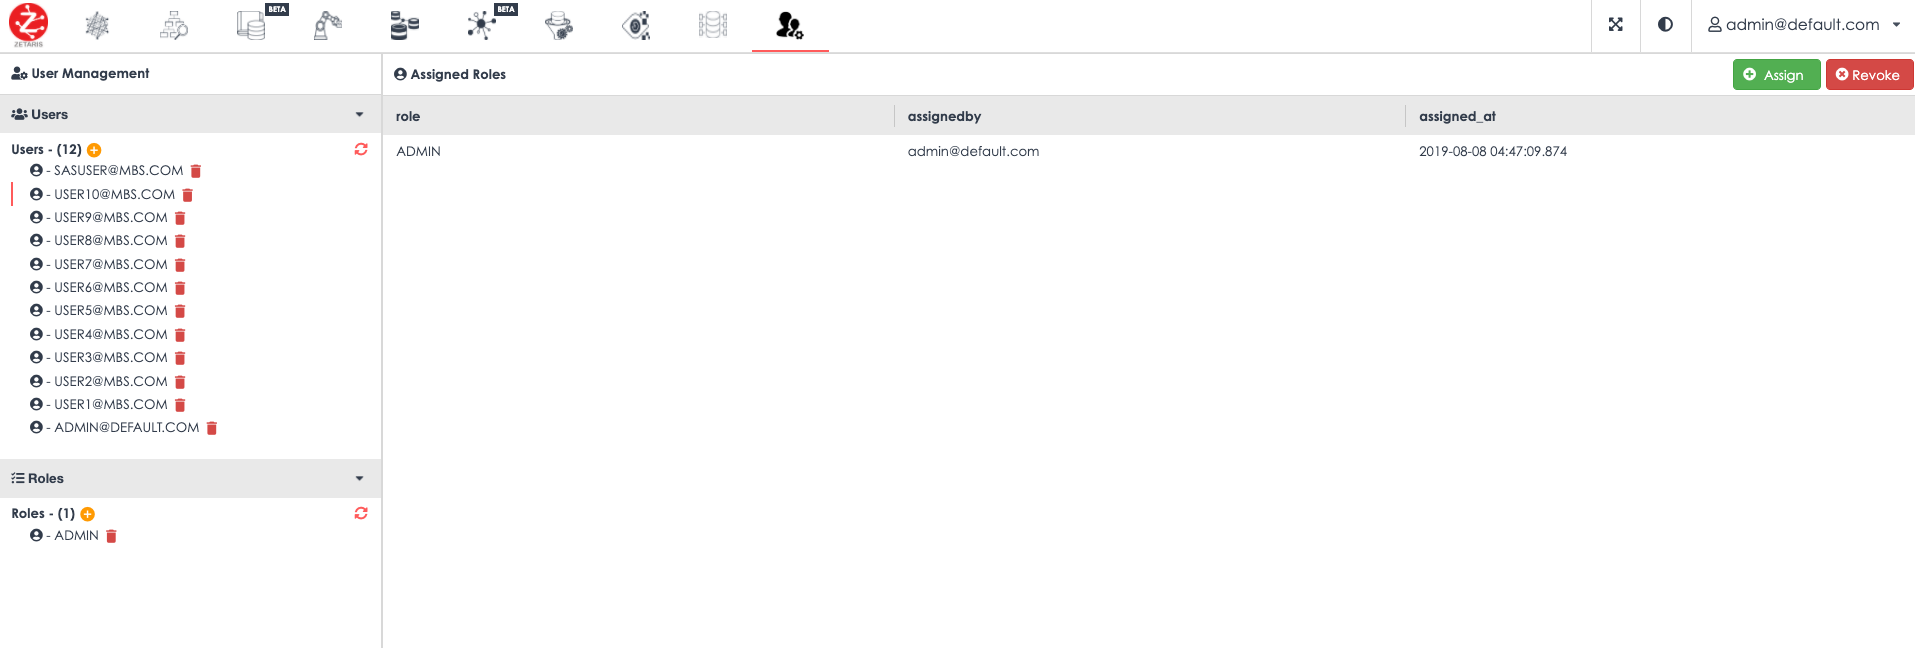
Access Control and User Management
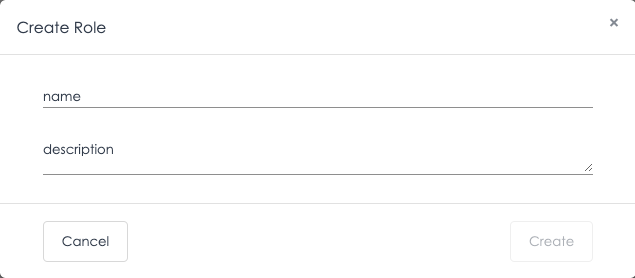
The User Management allows the management of different users and roles.
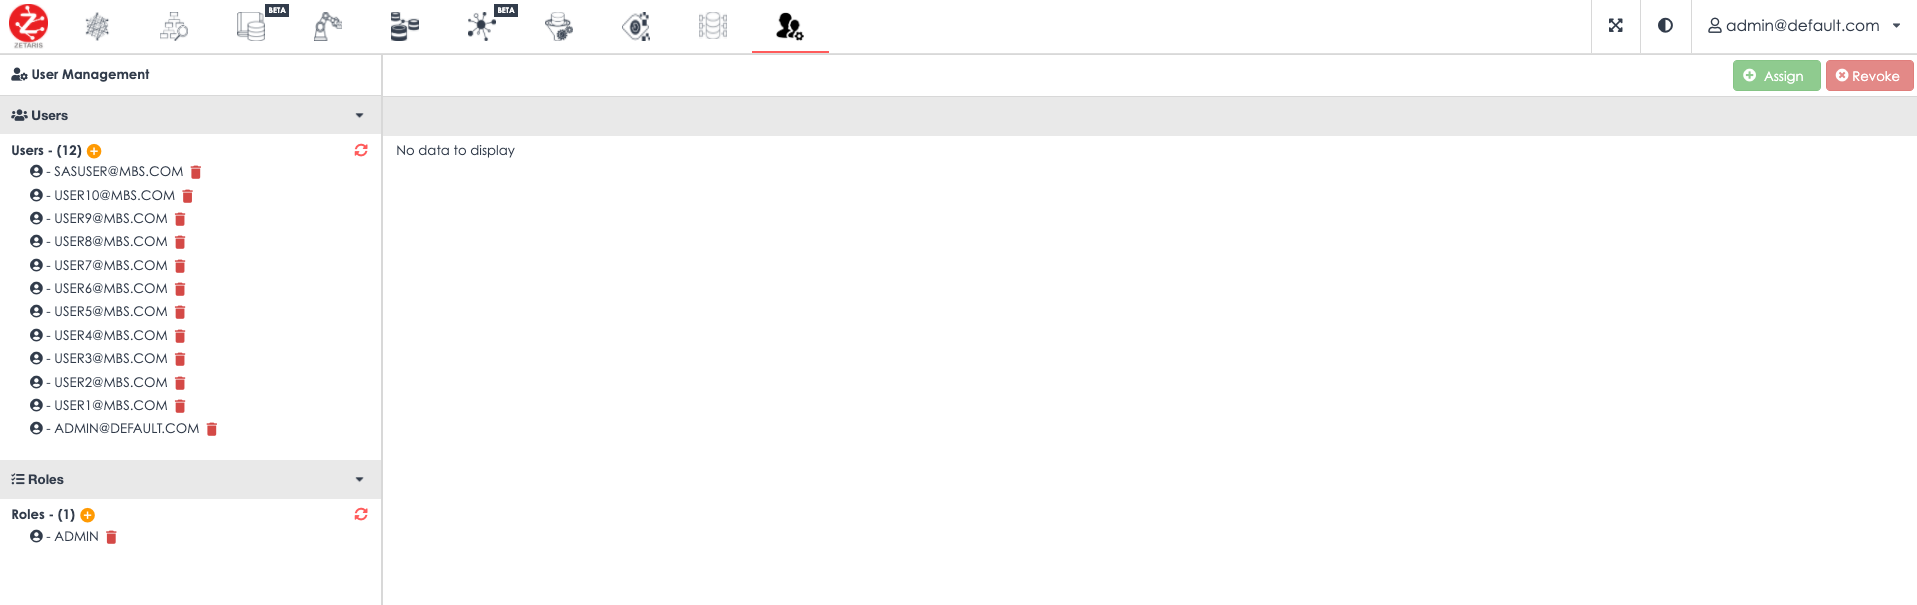
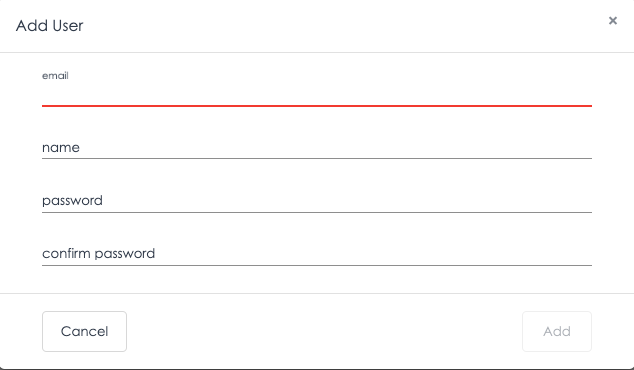
Users and Roles can be added using the left hand side panel
The top right hand side panel allows the addition or removal of either: • a user to/from a role • a role to/from a user